The Robot
What does the robot have to do?
The robot that we have made is made to compete in the game component of the CRC Robotics competition, called
AVIA 2023. This year, it is being held at Curé-Antoine-Labelle high school, from the 16th to the 18th of February.

The goal of AVIA 2023 is simple: to score more points than your opponents. Your robot competes with another
robot against two robots, one team being blue and one team being yellow. Points can be scored based on the
placement of the game pieces, seen on the left. When the piece is flipped on the yellow side, the yellow team
gains points for the action, and vice versa.
Points can be gained with 3 different actions: by leaving the game pieces on the floor, by putting the game
pieces into the towers seen on the right, and by stacking game pieces into a multiplier zone. Each game piece left
on the floor is worth 35 points each. Since there are 60 game pieces at all times, these floor points will add up.
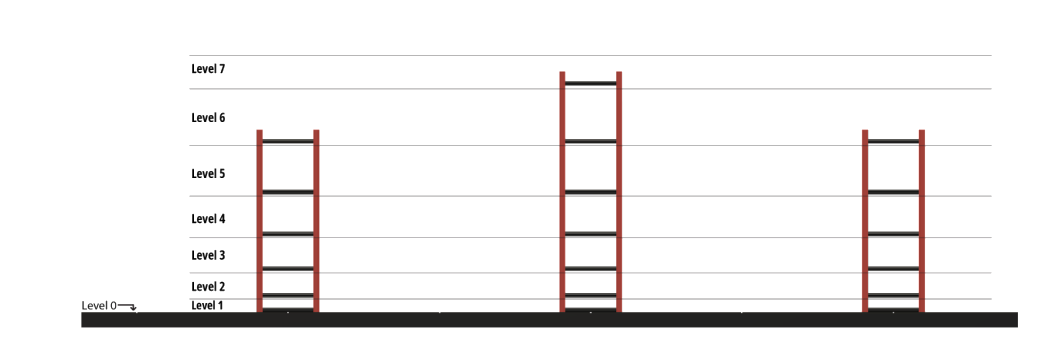
The tower points function a little differently. For the tower, the game pieces must be put fully into the tower,
one floor at a time, starting from the bottom. This can be especially challenging considering the fact that the
floors of the towers can go up to seven feet high! While it is more challenging to add pieces the further up they
are placed on the tower, the tokens that are put higher on the tower are more valuable. The game piece on the
lowest floor is worth 10 points, and every higher floor is worth double the points of the one below it. That means
that the top floor if the highest tower is worth 640 points!
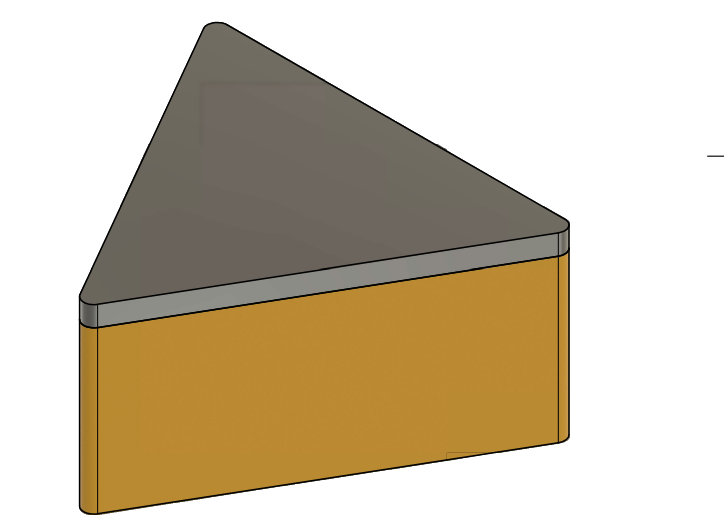
The last way to earn points is through the multiplier zone. To gain the multiplier, a team must stack a pile of
game pieces on a pedestal the shape of the image on the left higher than their opponent. While the image may look
large, the pedestal is actually only about four inches wide! Whichever team can stack their game pieces higher
will get a 1.5X multiplier on all the other points they earn.
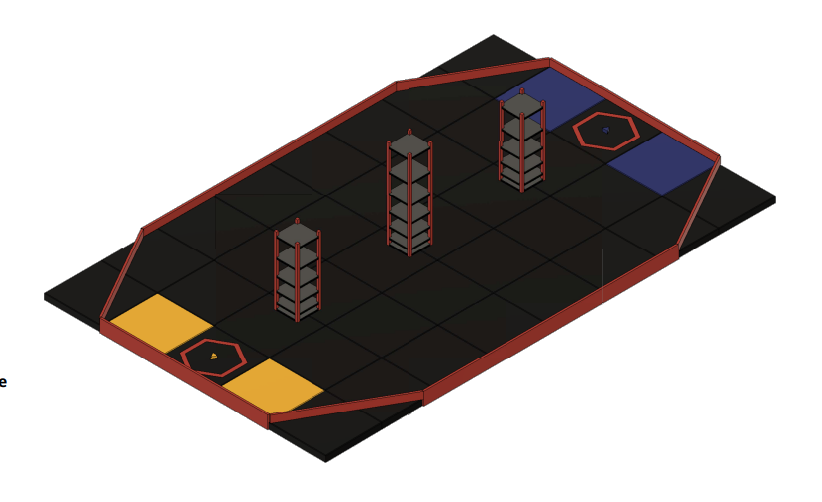
The game takes place within the arena shown on the right. Every robot must start in one of the large boxes on
the floor of the same color. As for the game pieces, 20 of them start on their sides around the playing area, and
the rest are arranged in four stacks of 10 game pieces. Of these 60 game pieces, one of them has a center that is
red. This piece, when placed on a tower, cancels out the points of every piece underneath it on that tower.
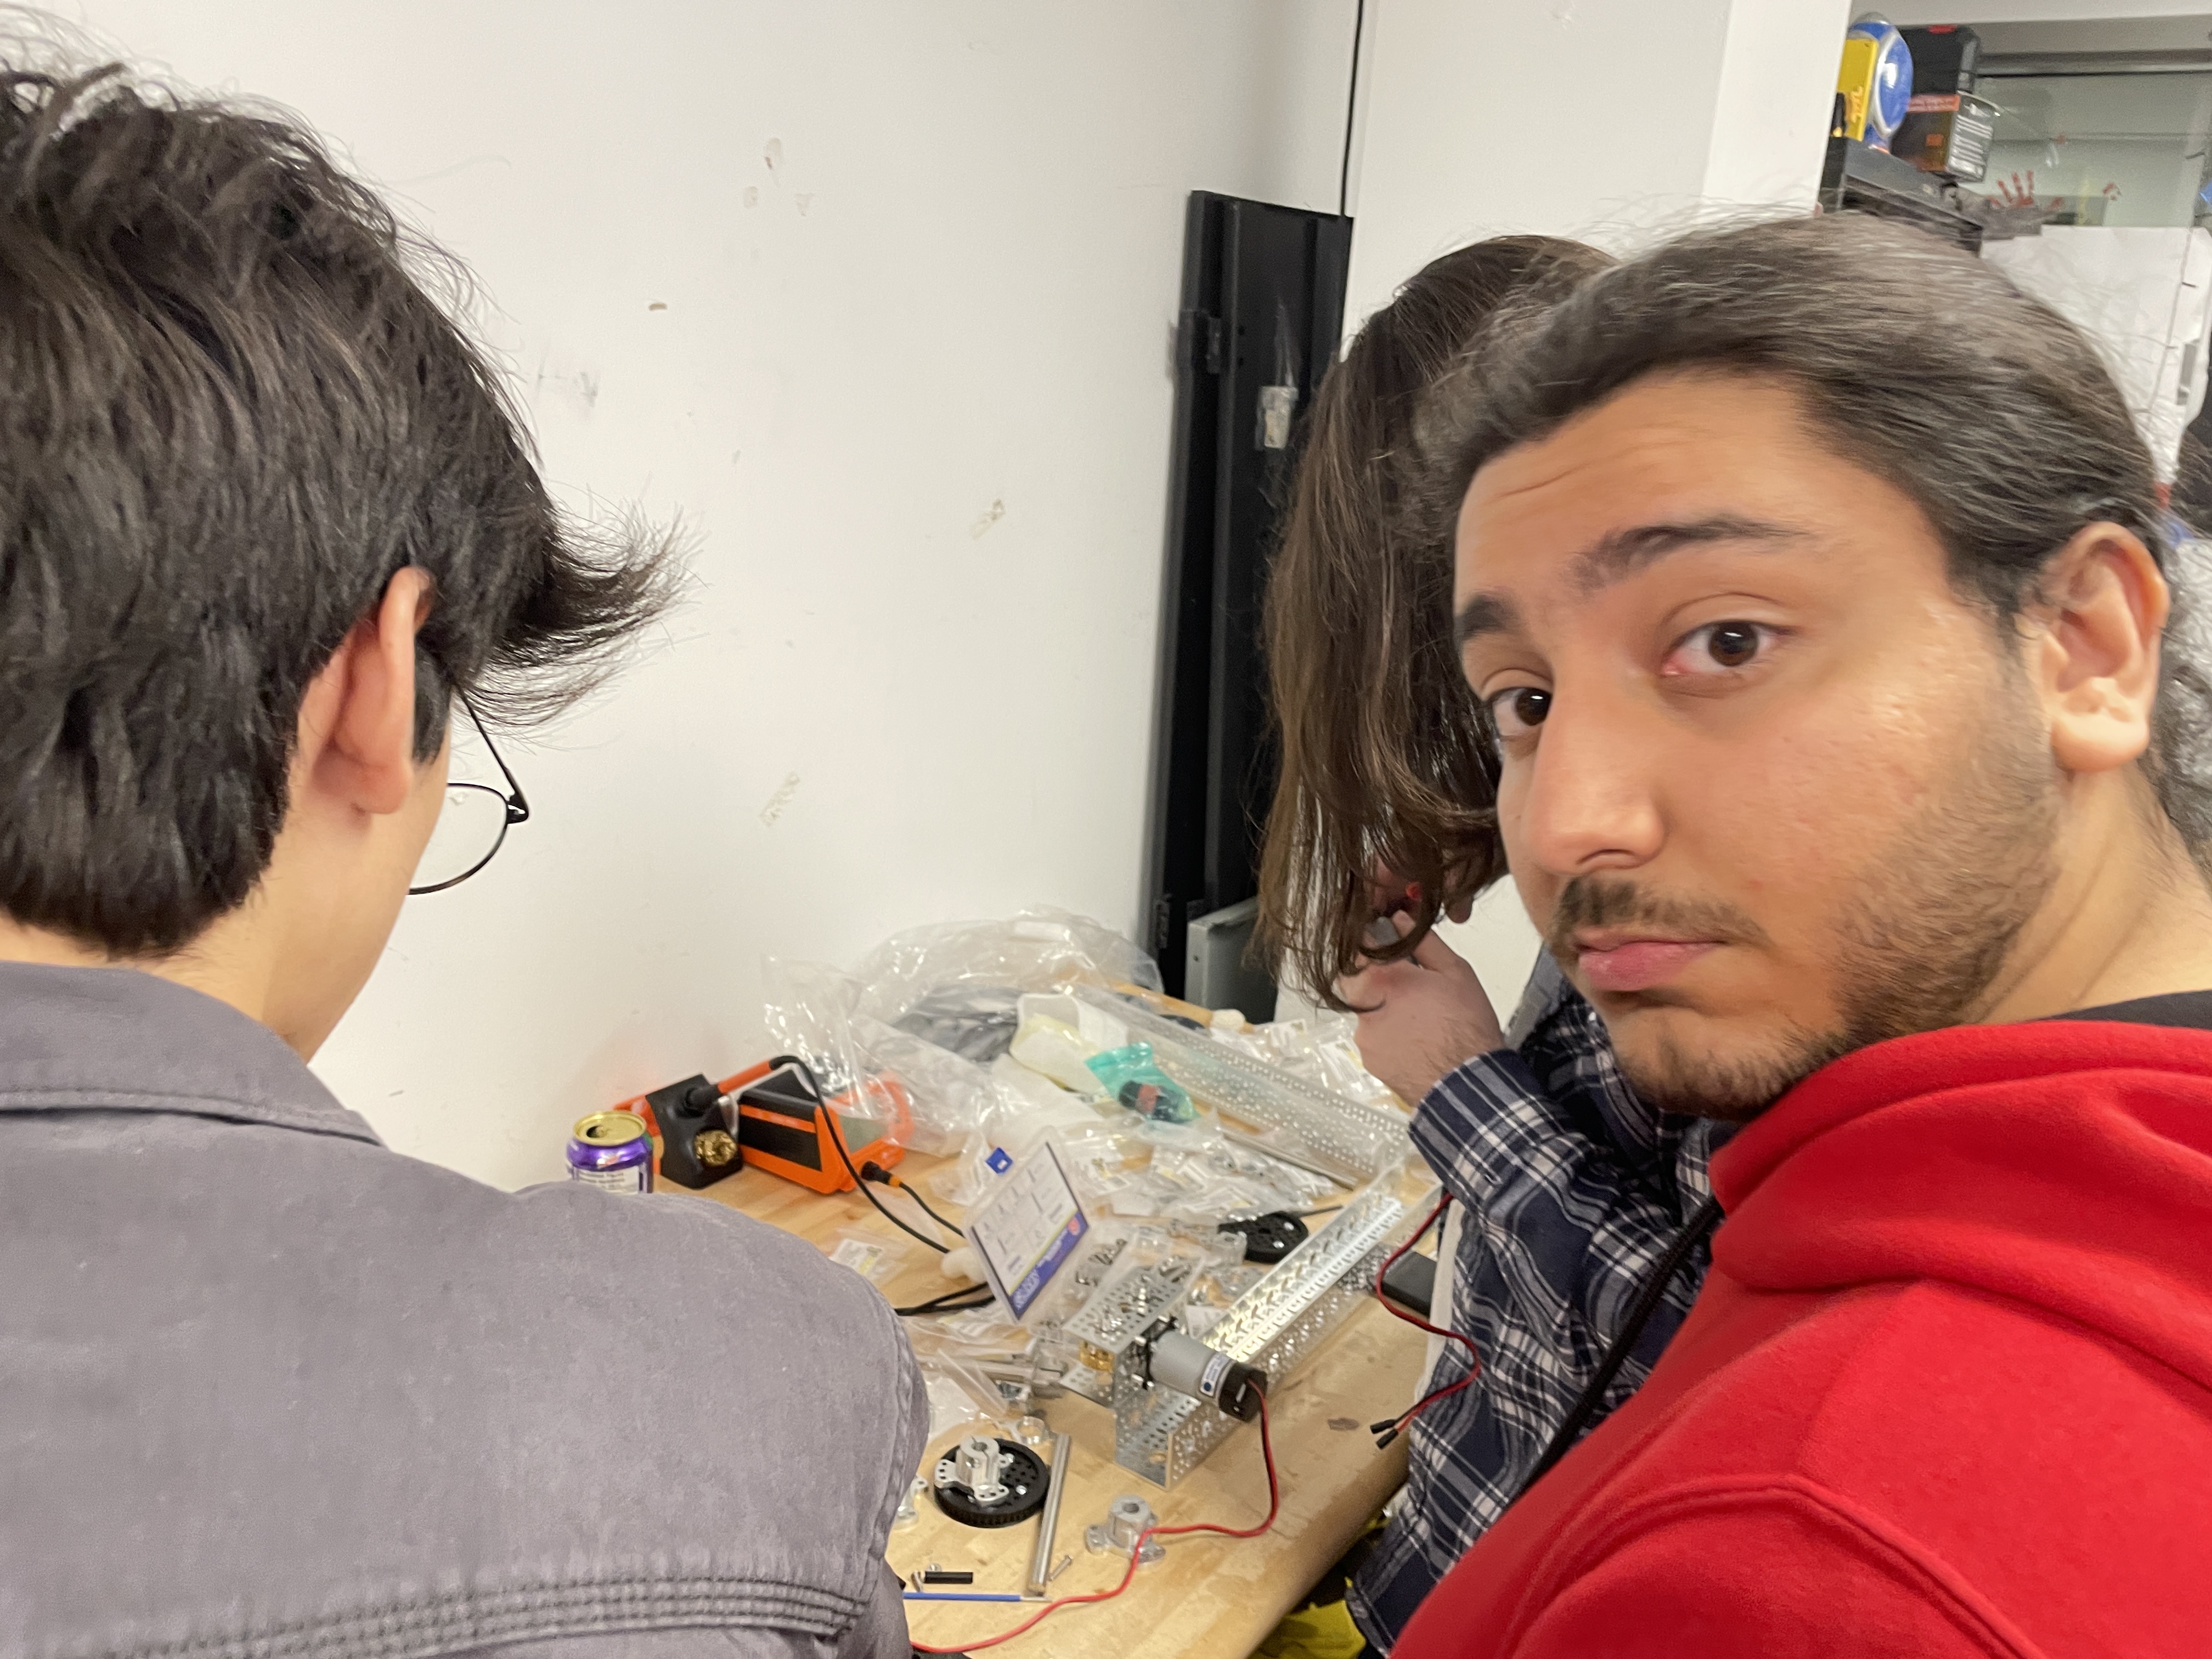
How did we make the robot?
The process of constructing the robot was divided into 3 major parts: Brainstorming, Prototyping, and
Construction. Brainstorming was done in person, during the first handful of club meetings(after the kickoff)
during the Fall 2022 semester. Prototyping also includes designing components of the robot in CAD, and then
building early prototypes of these components once parts arrive. Construction kind of blends into Prototyping, in
the sense that there wasn’t a definitive “end” of the Prototype phase. Construction simply started once each main
component was designed, tested, and was functional. Construction then consists of attaching the main components
together and to the chassis of the robot.
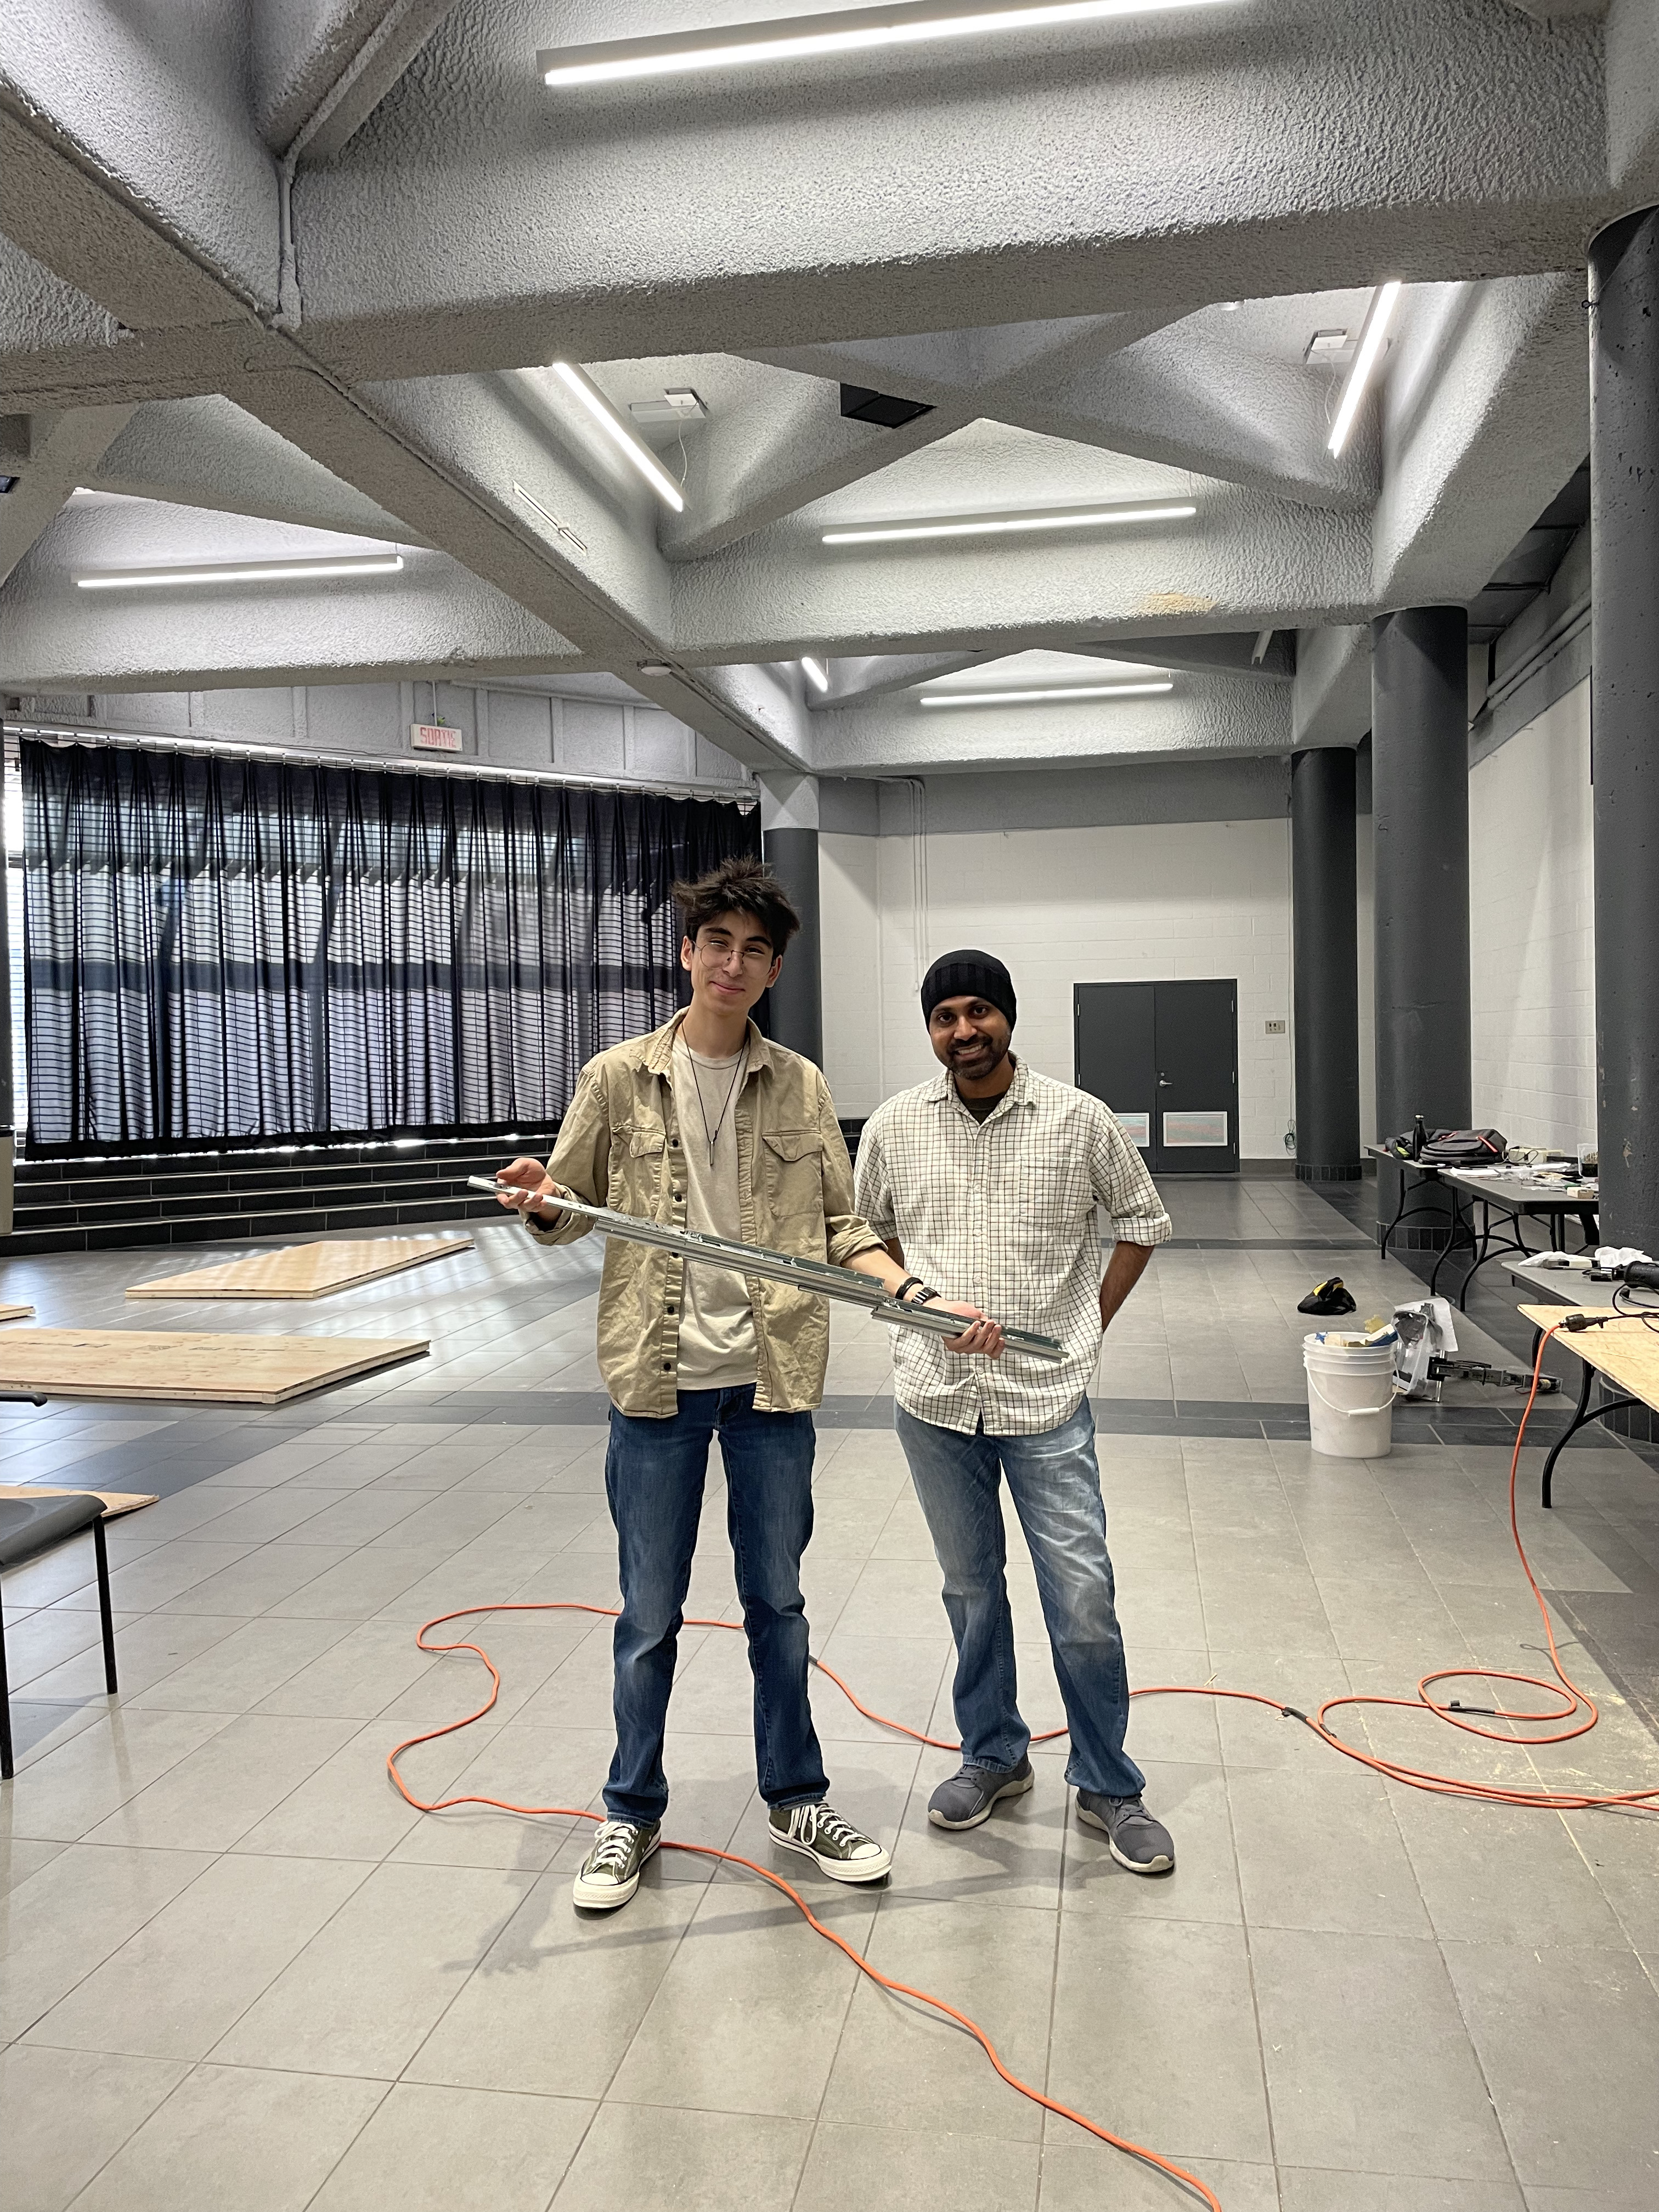
We divided the robotics construction team into groups to work on different components of the robot: The
“gripper/flipper”, which is simply a crab claw that picks up and rotates the game pieces 180 degrees, the lift
mechanism, which is a cascading lift using high-torque motors for a winch, which extends and contracts a series of
sliding and interlocking aluminum extrusions, and finally the chassis, which contains the drive train and the real
estate to mount the lift onto.
At the time of writing, the lift and gripper/flipper have yet to be assembled onto the chassis, mostly due to
the chassis being incomplete; a few part orders ended up costing significantly more than anticipated in shipping,
which led to us no longer having enough money to order new parts for mounting. This means we will have to mount
the lift to the chassis using aluminum extrusions(of which we have plenty lying around from last year).
Another problem we encountered was staying within the robot’s width limits. The chassis was designed to “wrap
around” the gripper in order to keep it safe from collisions, and also to keep the robot within length limits.
When we had designed the chassis, we hadn’t optimized the interior width of the chassis to fit around the towers
that the game pieces must slot into, so we needed to increase the length of the cross bars. The issue is that we
can only increase the cross bar length a certain amount, otherwise we’ll be outside of the width limits, so we
will have to do a bit of math to calculate the optimal length of the bars.
Some things that the team learned during this year's robot construction process: First off all, try to stay
local when sourcing parts. So much of the budget was lost due to shipping costs when we could have just bought
them from a local hardware or electronics store. Also, designing parts in CAD took a lot longer than anticipated,
so it is important to get as many people working on CAD designs as possible, as early as possible.
The team definitely enjoyed brainstorming and thinking as a group. It was incredibly promising to see so many
people thinking up amazing ideas and designs.
The component we have struggled the most with is definitely the chassis, as width limits and limited hardware
required us to get creative.
We all sacrificed our free time to design prototypes in CAD, and most of our lunch breaks during the semester
were spent in the clubroom, tinkering. We also used our member’s personal 3D printer to print out parts for
prototypes.